
While anyone can throw steaks on the grill, chefs have a few small tricks to help ensure better tasting and better looking steaks. You can use this technique with any steak, from ribeyes & striploins to flank steaks and hanger steaks.
For extra flavor, consider marinating or applying a rub before grilling – you’ll find several good recipes on this blog.
Ingredients
- Grass-Fed Beef Steaks of Choice
- High Heat Oil (Grapeseed, Peanut or Canola)
- Salt & Pepper
Instructions
Pat your steak(s) dry, then season them with salt & pepper (unless you’ve already applied a rub).
Start your grill and pre-heat it. Clean it with a grill brush and then use a cloth held with tongs to brush it with oil.
Add the steaks and sear them to get prominent grill marks.
Optional: About half-way through cooking each side, rotate each steak a ¼ turn (without flipping them) to develop a second set of grill marks in the popular cross-hatch pattern.
Flip the steak(s) and continue to cook them to your desired level of doneness (use a touch test if you know how, or a probe thermometer…do not cut the steak open to check). You can give this side a quarter turn as well if you’re not happy with the look of the first side.
Keep in mind that because of its lower fat content, grass-fed beef tends to cook faster than conventional beef.
Optional: If the outside is done before the inside is the way you like it move them off direct heat, close the lid, and roast them until they’re where you like them (if you’re grilling indoors, move them to the oven to finish).
Once the steaks are cooked, remove them from the grill and loosely cover them with tin foil. Let them rest for 5-15 minutes (5-10 minutes for individual steaks, 15 minutes for larger pieces like flank steaks, hanger steaks, etc) before slicing and/or serving.
Serve the steak with the best set of grill marks facing up.
Recent Posts
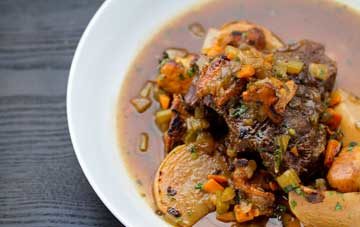
Braised Beef Cheeks
Beef cheeks are packed with bold, beefy flavor, and a meltingly delicious tenderness that’s unlocked through slow, low temperature braises. Here’s a recipe pairing them... …Read More »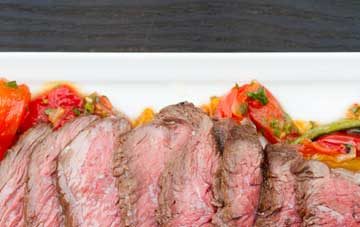
Pepper & Tomato Beef Coulotte
This recipe pairs bold, beefy sirloin steak with a tangy-fruity tomato & mixed pepper sauce. The coulotte is a thinner cut from the sirloin with... …Read More »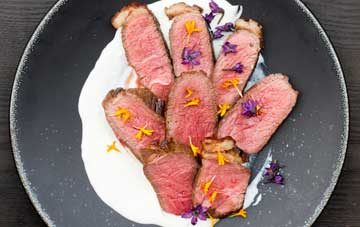
Molho de Alho Beef Coulotte
The coulotte is a thinner cut from the sirloin with a fat cap on one side. In this recipe it’s prepared in the Brazilian style... …Read More »